Have you ever been in a situation where you couldn’t access certain websites or online services? That’s because they blocked your IP address, either intentionally or as part of a broader security measure.
If you want to block IP addresses on your network or devices, one of the fastest ways is to use an IP blocker. However, if you’ve never used one or you’re unsure how it works, don’t worry. I’ll guide you through the step-by-step process of manually blocking IP addresses across various devices.
But before that, you should take a look at what exactly an IP address is.
Table of Contents
What Is an IP Address Exactly?
Every device connected to the internet, from your smartphone to the server hosting your favorite websites, has a unique identifier. We refer to this identifier as an IP address.
An IP address consists of a string of numbers separated by decimal points, like this: 192.168.123.132. You can use it to identify websites, apps, and devices.
IP addresses play a huge role in facilitating online communication. They ensure that data traveling across the internet reaches the correct destination. It is much like a postal address does for physical mail. In fact, with a geolocation lookup, you can even determine where an IP address is coming from, down to the city level.
Now, you might wonder why you don’t see those numbers while browsing. After all, everything on the Internet uses an IP address made up of numbers. Good question!
These numerical strings are hard to remember. That’s especially true when we’re dealing with over 1.13 billion websites worldwide. That’s where the Domain Name System (DNS) comes into the picture.
DNS acts like a phonebook for the internet. It translates different types of IP addresses into human-readable names. For example, the domain name of the Netflix website is “www.netflix.com.” But its IP address could be “52.0.131.132”.
Wait, did I say “different types of IP addresses”? Let’s understand that next.
Different Types of IP Addresses
There are two main types of IP addresses: IPv4 and IPv6. IPv4 is the original Internet Protocol introduced in the 1980s. An IPv4 address typically appears as follows: 192.158.1.38. It uses a 32-bit address scheme, which allows for a total of around 4.3 billion unique addresses. But who knew the internet would take over the world? So, due to the expansion of the internet, this range of IP addresses proved insufficient.
To address this limitation, developers created IPv6, which uses a 128-bit address scheme that expands the range of addresses. This newer version can support a virtually limitless number of devices. An example of an IPv6 address is 2001:0db8:85a3:0000:0000:8a2e:0370:7334.
The transition from IPv4 to IPv6 is important as it provides not just more addresses. It also improved routing and auto-configuration capabilities.
Now that you understand the basics, it’s time to learn how to block IP addresses. Here are five ways to block unwanted or malicious IP addresses and carry out your online activities without any hassle.
How To Block IP Address On Router
The best way to prevent IPs from entering your network is to block an IP address from the router level. Here’s how you can do it:
1. Access the Admin Control Panel of Your Router
First off, you need to access your wireless router’s admin interface. This is where all network administrators manage settings.
You can access your router by entering the default IP address into the address bar of a web browser. For example, 192.168.1.1 or 192.168.0.1.
You will also need your router’s username and password to log in. You can find this information on the back of your router or in its manual.
2. Open Control Settings
After logging into the admin control panel, find options such as Security, Firewall, or Access Control. These are the options for managing who can access your network.
3. Type in the IP Address You Wish To Block
After entering the access control or security settings, you will find options to restrict or block IP addresses. You may also see this option labeled as “Internet Filtering”, depending on your router.
Once you find the right option, click on it and enter the IP address(es) you want to block.
4. Save and Test Your Changes
After following all the previous steps, don’t forget to save your changes. You might have to restart your router to make these changes effective.
However, remember that these steps for how to block an IP address on a router can vary. It depends on the brand and model of your router.
If these steps do not match your router’s configuration, you should read the router’s manual. Or you may check the support website for more precise guidance. If manual configuration isn’t your thing, you can always rely on website blocking software to simplify the process.
With that said, let’s take a look at how to block an IP address on Windows.
How To Block IP Addresses on Windows?
To block IP addresses on any version of Windows, you need to access Windows Defender Firewall settings.
Here is a step-by-step process of doing it:
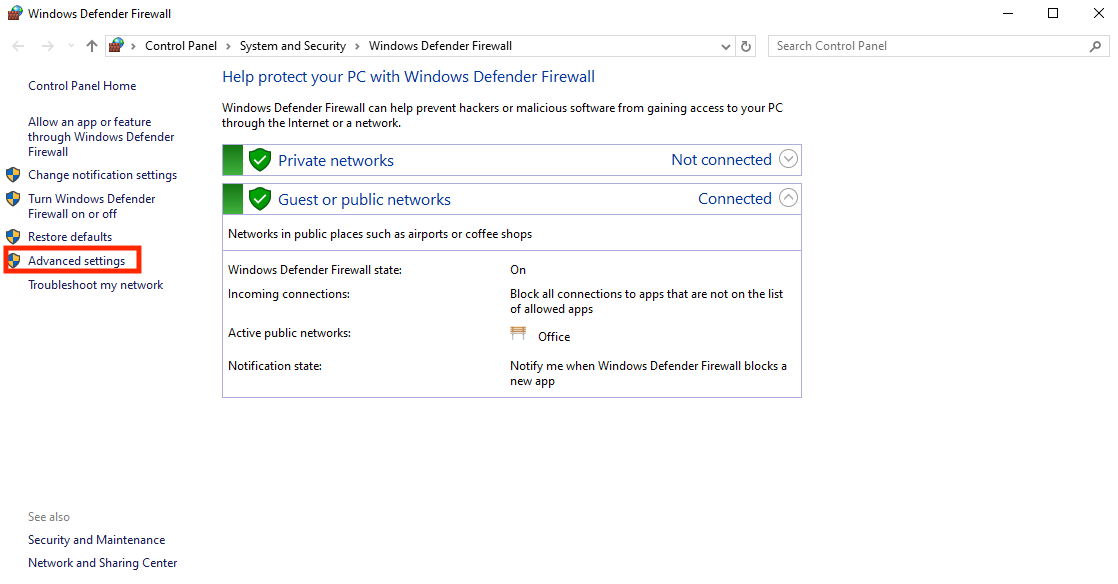
1. Open Windows Firewall and Enter Advanced Settings
From the Windows start menu, search “Windows Firewall” and click on the “Windows Defender Firewall” option. The Windows Defender Firewall option will appear with a “Globe behind a Wall” icon.
Once you open Windows Firewall, look for the “Advanced Settings” option and click on it.

2. Create a New Rule
In Advanced Settings, there will be an option for “Inbound Rules”. Click on it and then click on “New Rule”.

3. Select Rule Type and Specific Protocol
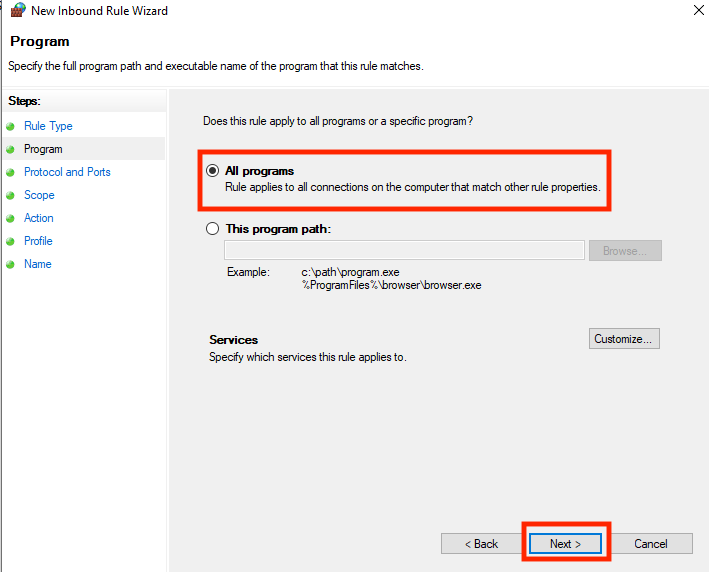
In the new inbound rule wizard, click on “Rule Type”, select “Custom”, and click “Next”. On the next window, click “All Programs” under title “Does this Rule Apply to All Programs or a Specific Program?”.
After that, the system will ask you about the protocol and ports. Just select the “Any” option and click on the “Next” button to move forward.


4. Enter the IP Address To Block
Now, on the next window, under the title “Which local IP address does this rule apply to?” select the “These IP addresses” option. Then, click on “Add” to add the desired IP address.
Once the IP address block opens, choose the “This IP address or subnet” option and enter the IP to block. Then click the “OK” button.
Once you click “OK”, the system will redirect you back to the previous screen. There, you will see the IP address you just entered to block. You can add more IP addresses here by clicking the “Add” button and following the same process.
After entering all the IP addresses to block, click “Next” to proceed.


5. Block the Connection and Name Your Rule
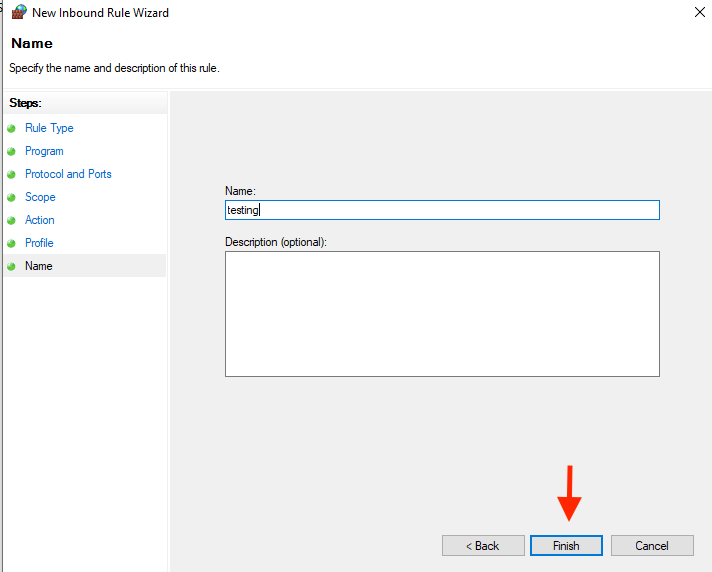
On the next window, choose the “Block the Connection” option and click on “Next”. Then, the system will prompt you to choose “When does this rule apply?”. Select all three options: Domain, Private, Public, and click “Next”.
Finally, set a suitable name for this rule and hit “Finish.”


Voila! This is how to blacklist an IP manually on Windows using built-in firewall rules. But how do you block an IP address on a Mac? We are about to find that out.
How To Block an IP Address on Mac?
Just like we created a rule to block IP addresses on Windows, we will do the same on Mac. The only difference is we will create a rule on Mac using the terminal(command prompt) and some lines of code.
1. Open the Terminal and Enter the First Command
Go ahead and press cmd + shift on your keyboard to open the search box on your Mac. Then type “Terminal” and click on it.
After launching the terminal, type the command: sudo vim /etc/pf.conf. This will open the PacketFilter Configuration file.

Using the keyword “sudo” means you’re asking for extra security privileges as a superuser. This means the system might ask for your Mac’s password.
2. Enter the IP Address You Want to Block
Now, type in this command, “block drop from any to <IP ADDRESS>”. Instead of “IP ADDRESS”, enter the IP address you want to block. Like this:
| block drop from any to 18.159.238.13 |
Wondering how to block a range of IP addresses instead of just one? Mac lets you do it easily by replacing “any” with an IP address. Like this:
If you want to block a range of IP addresses, you should replace “any” with an IP address. Like this:
| block drop from 18.159.200.0 to 18.159.238.13 |
3. Block the IP Address
To run the packet filter, load your new rule, and block the IP address, type this command in the terminal:
| pfctl -e -f /etc/pf.conf |
This will successfully block your desired IP address. If you want to disable this rule or unblock the IP address, you can do it by running this command:
| pfctl -d |
How To Block IP Address on iPhone?
Would you like to learn how to block an IP address on your iPhone? Unfortunately, it’s not possible. iOS does not support blocking an IP address directly on an iPhone.
Routers or servers manage complex networks, where you control the inbound and outbound traffic. However, iOS does not let you block specific IP addresses through its settings.
If your goal is to prevent your iPhone from communicating with specific IP addresses, you’ll need to take additional steps. You would have to implement blocks at a different network level. For instance, you can go through your home router or use network management software that allows for such configurations.
However, while you cannot block an IP address directly on an iPhone, you can hide your IP address. Here’s how to do it:
1. Open “Settings” on your iPhone and scroll down until you see “Safari”.

2. Tap on “Safari” and scroll down to find the “Hide IP Address” option.

3. Select “From Trackers” option.

How To Block IP Address in Google Analytics?
If you filter traffic from certain websites, you can simply block their IP addresses in your Google Analytics account.
Follow these steps:
- Log in to your Google Analytics account and go to the “Admin” section
- From there, find the “View” column, and click on “Filters”
- “Add Filter” > Name your filter
- Under “Filter Type”, select “Predefined”, “Exclude” and “Traffic from the IP Addresses”
- Then choose “That are equal to” and write the IP address you want to block
- Lastly, click on “Save”
Note that these steps won’t work if you are using Google Analytics 4. If you want to learn how to block an IP address in Google Analytics 4, visit this Google Analytics guide.
Until now, we have discussed the ways to block IP addresses of other devices and websites. Now you might be wondering “How can I block my IP address for free?”. This is exactly what the next section is going to be about.
How To Block My IP Address For Free?
Here are three practical ways to block or hide your IP address:
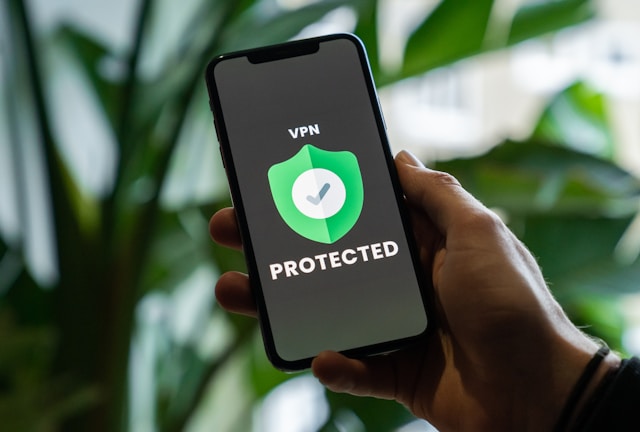
- Using a VPN: A Virtual Private Network acts as a secret tunnel for your internet activity. When you use a VPN, it sends your internet traffic through a special route that others can’t see. This makes it look like you’re using the internet from a different place, not your actual location. Using a VPN is one of the easiest ways to hide your IP address. There are several free and paid VPN options that you can try out.
- Using Tor Browser: Tor is a dedicated browser that hides your IP address. When you use it, your internet activity goes through several random paths before reaching its destination. This makes it really hard for anyone to trace your steps back to you.
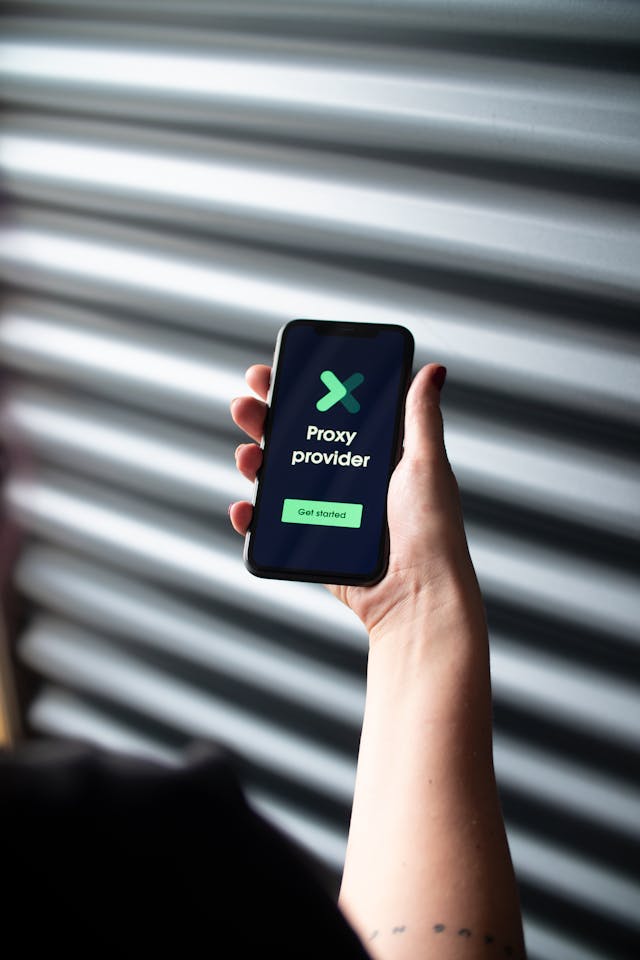
- Using a Proxy Server: Using a proxy server is like sending someone else to do your errands. When you connect to the internet through a proxy server, it’s as if the proxy is browsing, not you. Websites see the proxy’s IP address instead of yours, keeping your real IP address hidden.
Common IP Blocking Issues
Imagine you blocked a malicious IP address, but the attack keeps going the next day, like nothing happened. Why? Because blocking IPs isn’t easy. There are tricky problems that can mess up even the best security plans. Some of these issues involve blacklisted IP addresses and other important considerations.
Changing IP Addresses
Remember, we talked about different types of IP? Many users and hackers have dynamic IP addresses. You blocked one address, but they just took another and connected from it. Due to this, controlling access is challenging.
What to do? Don’t block just one address, block ranges of addresses. You can also use filters by country or region.
IP Spoofing
Hackers can fake IPs and hide where the attack starts. We call this IP spoofing. Block one IP? No problem for them. They just use another!
Use smart tools that watch your internet traffic to solve the issue. They spot shady stuff fast. Additionally, firewalls and IDS verify if IP addresses are genuine or spoofed. Then they kick out the fakes!
Blocked IPs Are Not Affected
Sometimes you think you blocked an IP, but it still appears. This is usually because the block didn’t start, or it works incorrectly. Recheck your firewall or router controls. Make sure you typed everything right. Then, update the rules and try them out to be sure the block works.
Legitimate Access Blocked
Sometimes you make blocking rules that are too strict. These rules can accidentally block good users. For example, you might block the IPs of your coworkers or customers, and they won’t be able to get in.
How to avoid this? Make a whitelist. Put the IPs you trust on that list. Your system will always let those IPs through, even if other rules block more people. Try your rules with a few people first, to make sure you don’t block the wrong ones.
Inaccurate IP Detection
Sometimes the system shows the wrong IP address. This happens if your IP database is old or the system can’t detect the IP correctly. As a result, you might block a real user or miss a hacker.
To avoid these risks, update your IP database often. This helps your system recognize good and bad IPs more accurately. Also, check the rules in your firewall or router to make sure they use the latest info. Use more than one tool to check IPs. That way, you lower the chance of mistakes.
Botnets
We have already mentioned that some attacks are big. Botnets are one of the worst. Many sick computers are working together. Hackers use them to attack your site from multiple IP addresses simultaneously. They want to shut down your site, steal your data, or cause trouble.
You can’t block all those IPs — there are too many. You need smart tools that find bad traffic and stop it fast. Try tools like a web firewall or DDoS protection.
Level Up Your User Experience with GeoPlugin!
Understanding what is a blacklisted IP address is essential if you want to control who accesses your network and keep your data secure. You should also know how to block the IP addresses of other devices or your own. These tools help protect your network and reduce the risk of data leaks or other threats.
You can control IP access by adjusting settings on your router, managing configurations on your devices, or using advanced network management tools. The power to control IP access should be in your hands. (Not the other way around.)
Want to take your site’s functionality to the next level? GeoPlugin provides robust, real-time geolocation services that enhance your user experience.
By integrating our easy-to-use API, you open up a world of possibilities for customized user interactions. Discover the capabilities of GeoPlugin for your website. Sign up now and see the difference real precision makes!